Your API 5L ISO3183 line steel pipe manufacturer in China
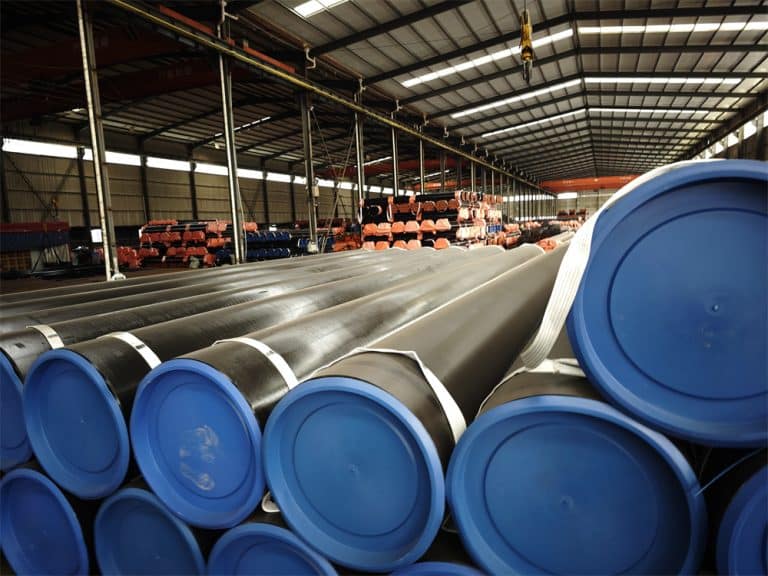
Longma produces and stocks API 5L/ISO3183 line pipes used for oil and gas transmissions, it includes pipes manufactured in welded (ERW, SAW). Materials covers API 5L Grade B(L245), X42(L290), X46(L320), X52(L360), X56(L390), X60(L415), X65(L450), X70(L485), X80(L555) PSL1 & PSL2 onshore, offshore and sour services.
- Grades: API 5L Grade B, X42, X52, X56, X60, X65, X70, X80; (+N/NS, M/MS)
- Level: PSL1, PSL2, onshore and offshore sour services
- Outer Diameter: 4 to 72 inches.
- Thickness: SCH 10. SCH 20, SCH 40, SCH STD, SCH 80, SCH XS, to SCH 160
- Manufacturing Types: ERW (Electric resistance welded), SAW (Submerged Arc Welded) in LSAW, DSAW
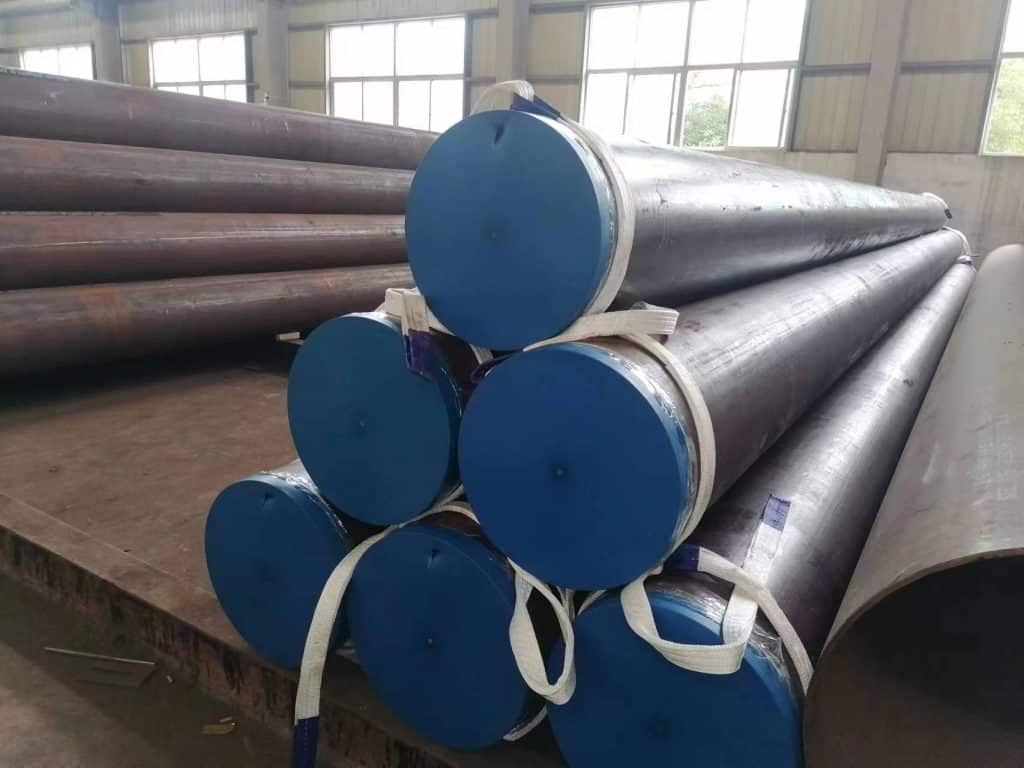
- Length Range: SRL, DRL, 20 FT (6 meters), 40FT (12 meters) or, customized Protection Caps in plastic or iron
- Surface Treatment: Natural, Varnished, Black painting, FBE, 3PE (3LPE), FBE
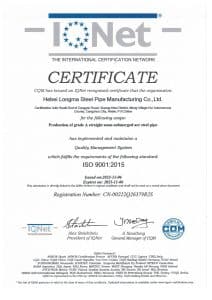
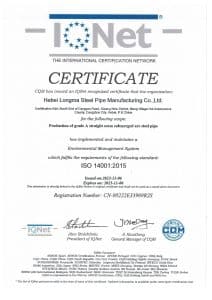
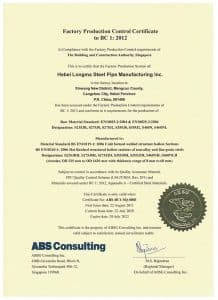
Our Certifications
Our API 5L ISO3183 line steel pipes Product List
Longma produce & export API 5L ISO3183 line steel pipes with specification: 4″-72″, ERW/LSAW/DSAW type with length max 18 meters.
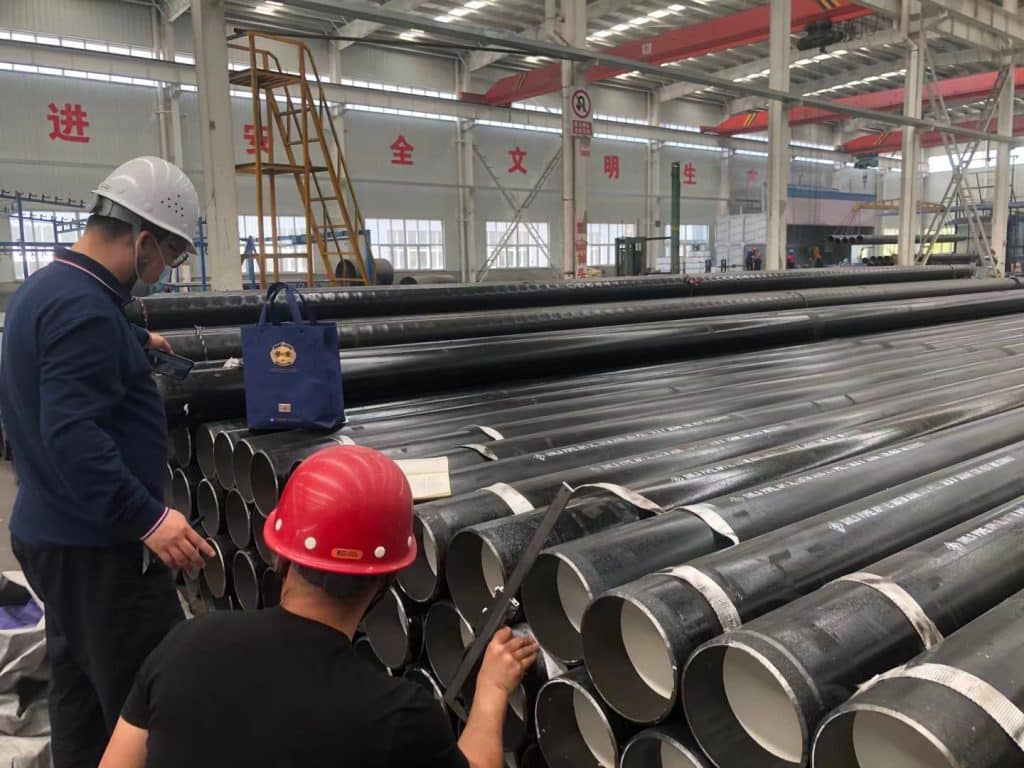
API 5L X52(L360) ERW Steel Pipe
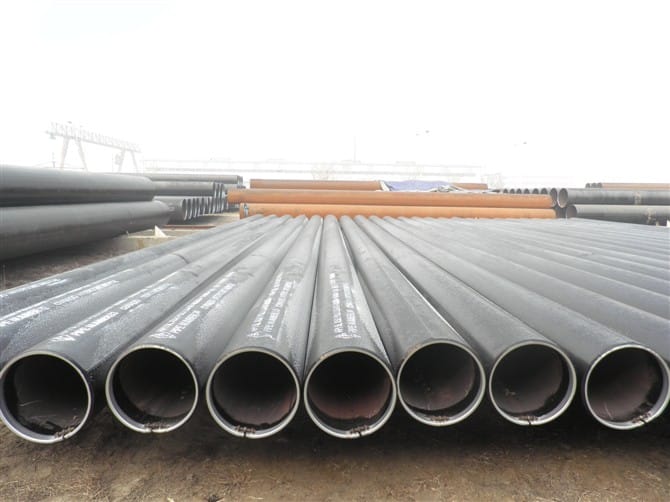
API 5L X65(L450) ERW/LSAW steel pipe
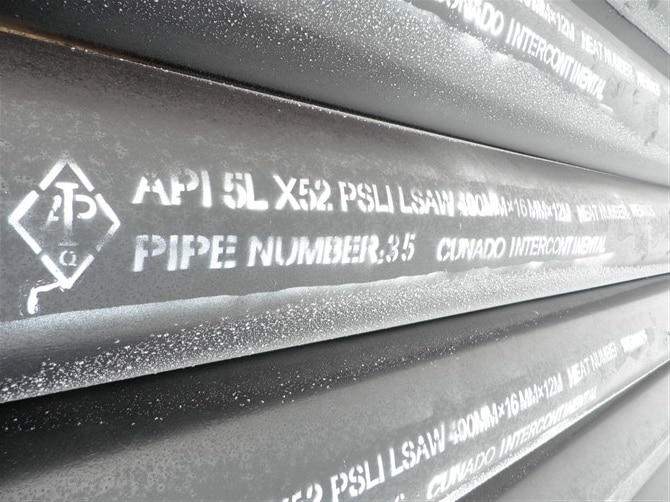
API 5L X52 PSL1 LSAW Line pipe
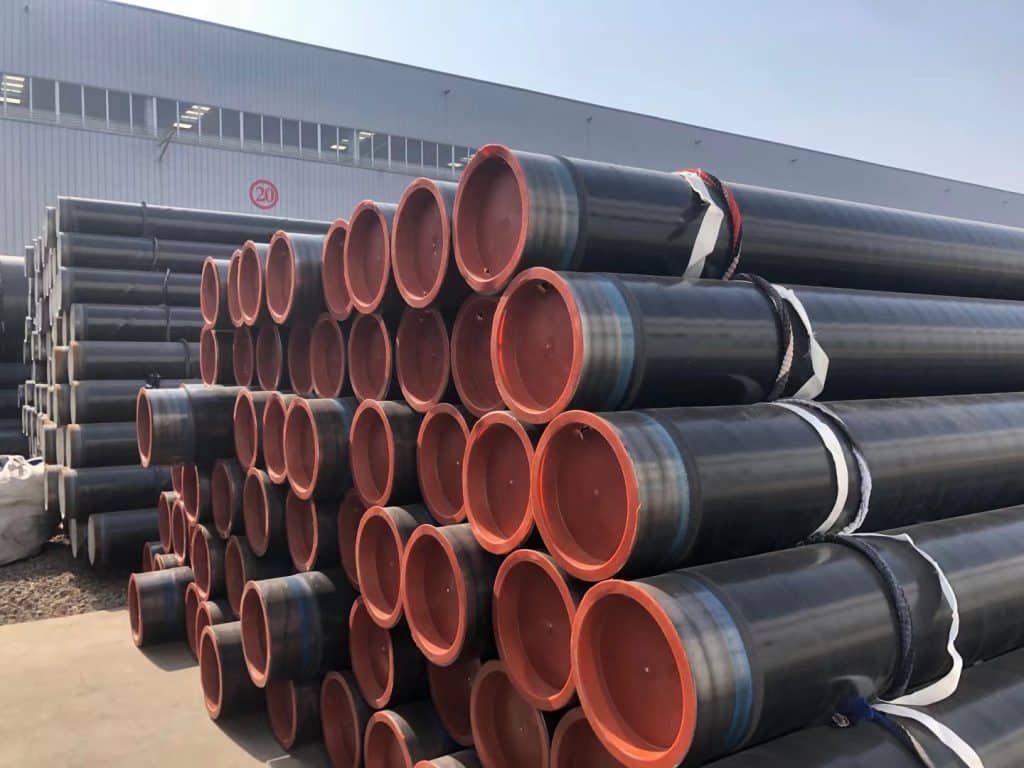
API 5L X60M PSL2 3PE LSAW pipe
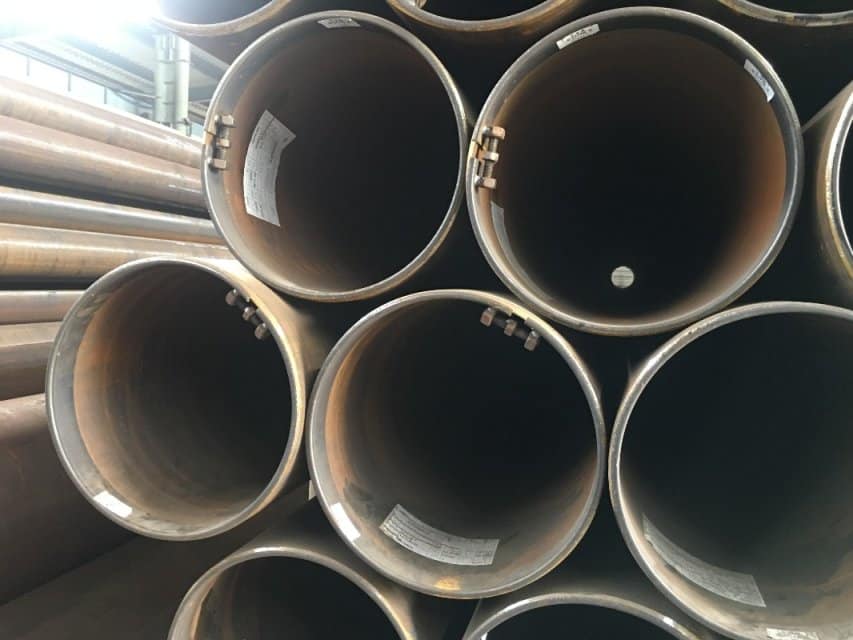
API 5L X42 ERW steel pipe
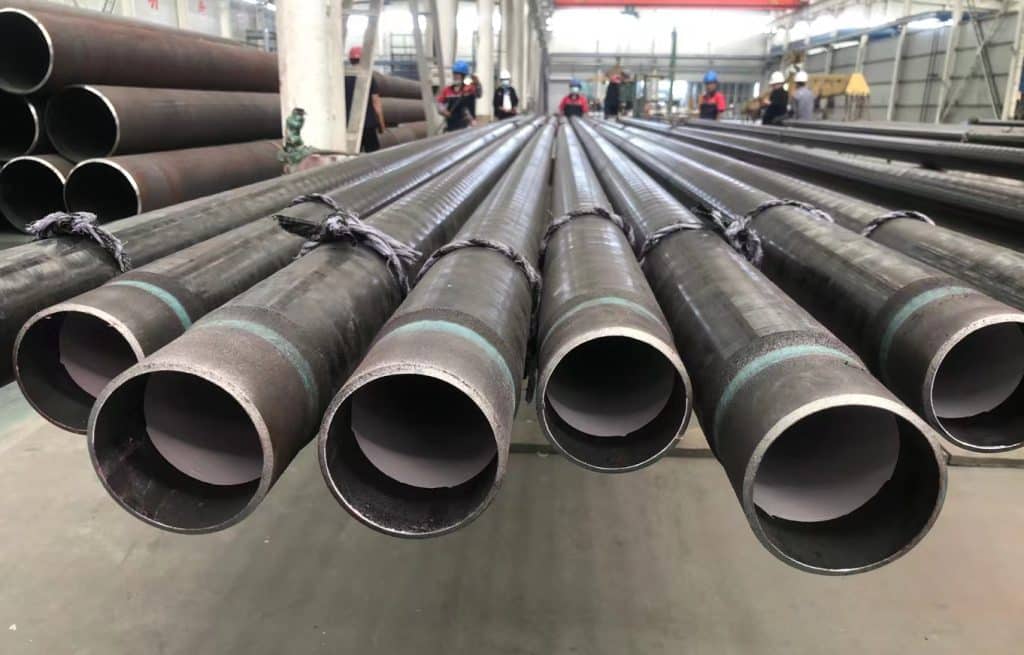
ISO3183 L245N ERW 3LPE Steel Pipe
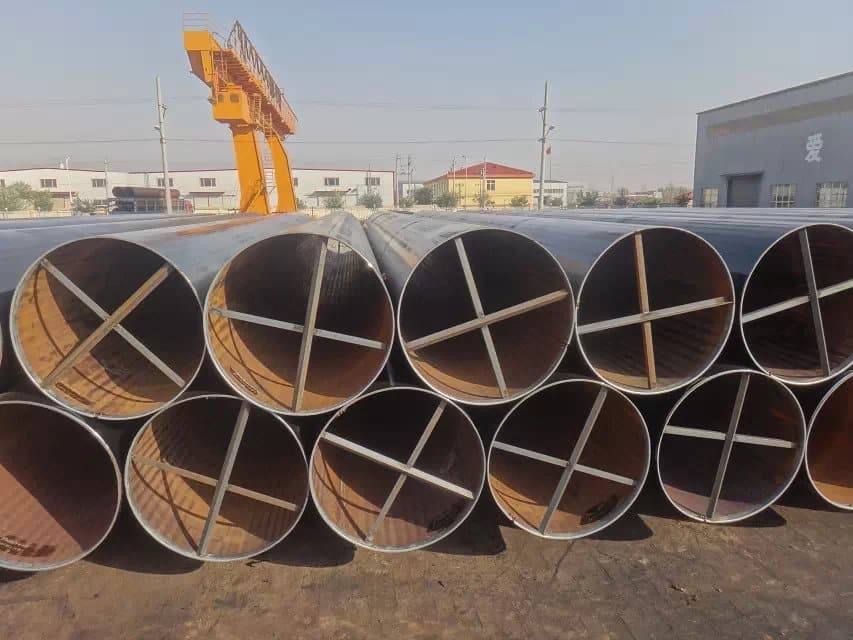
API SPEC 5L LSAW steel pile pipe
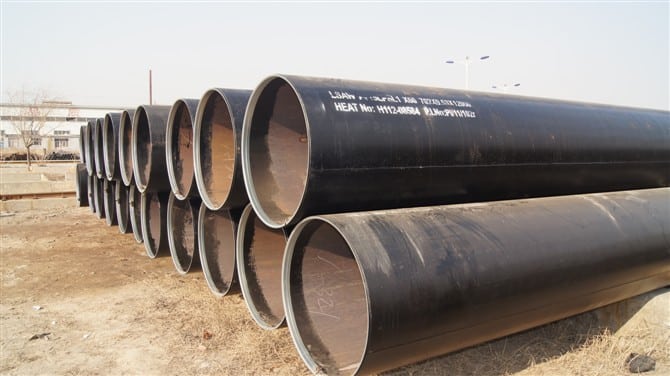
API 5L X70 PSL2 LSAW steel pipe
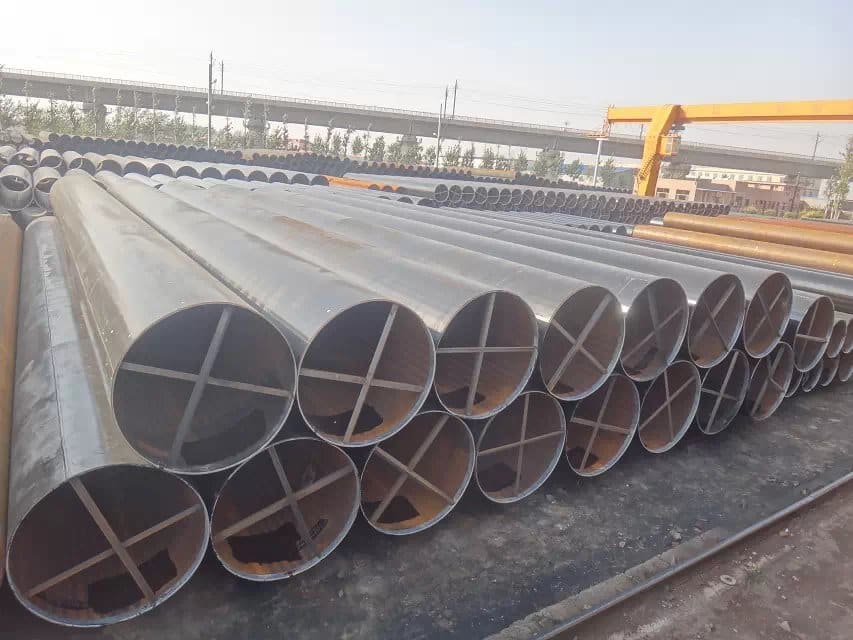
API 5L B carbon steel pipe
Longma is one of the leading API 5L line pipes manufacturer since 2003
- Longma is one of the leading API 5L ISO3183 line pipes manufacturer since 2003.
- Found in 2003, specialized in produce ERW, LSAW, DSAW steel pipes with an annual output of 300,000 tons.
- Two factories, 200,000 square meters of plant.
- Advanced production equipment imported from Germany, 16 JCO production lines.
- More than 300 employees and more than 60 technicians provide efficient production operations and technical services.
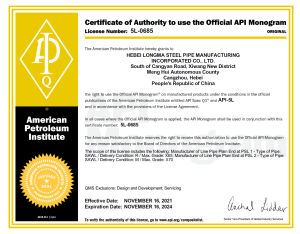
- API 5L(No. 5L-0685, Expiration date: 16th,Nov,2024), ISO9001, ISO14001, ISO18001, FPC certificates.
- Exports high quality steel pipes to more than 60 countries around the world.
API 5L ISO3183 line steel pipe Production Line
Annual output of 300,000 tons of LSAW steel pipes, with out diameter Φ406mm- 1626mm (16″ – 64″), wall thickness 6.0mm- 75mm (1/4″ – 3″), length 18 meters max.
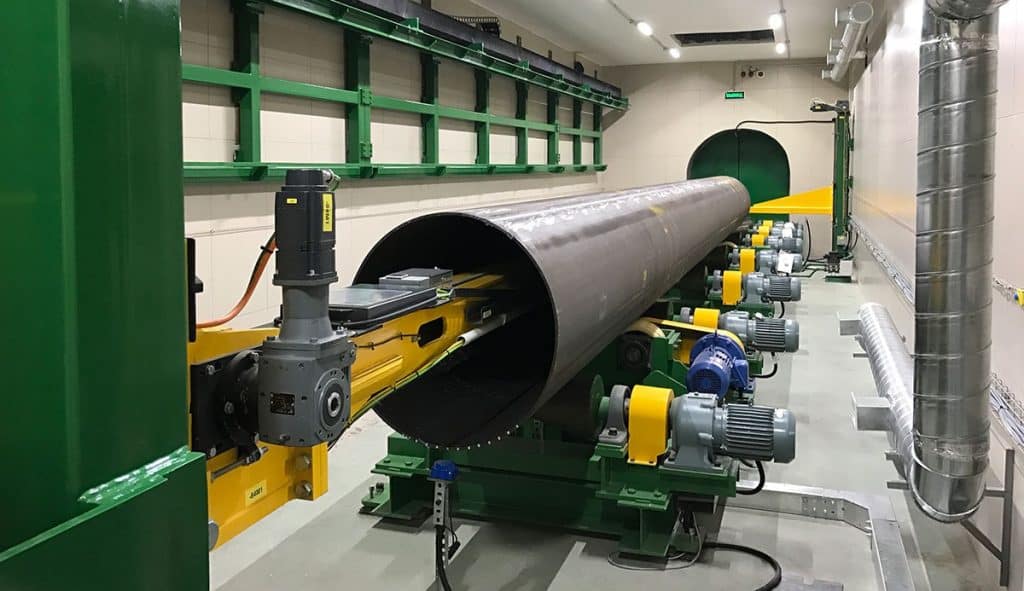
X-Ray Testing
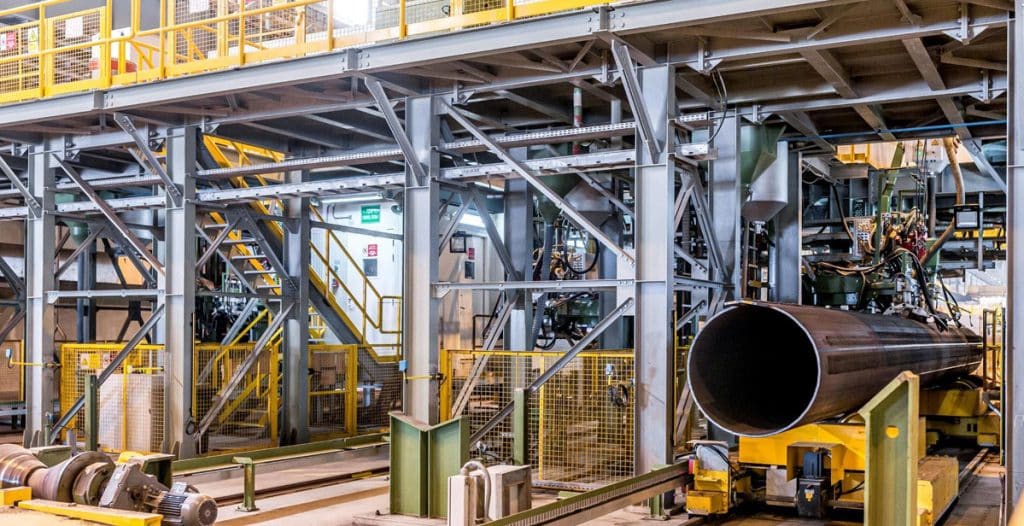
Ultrasonic Testing
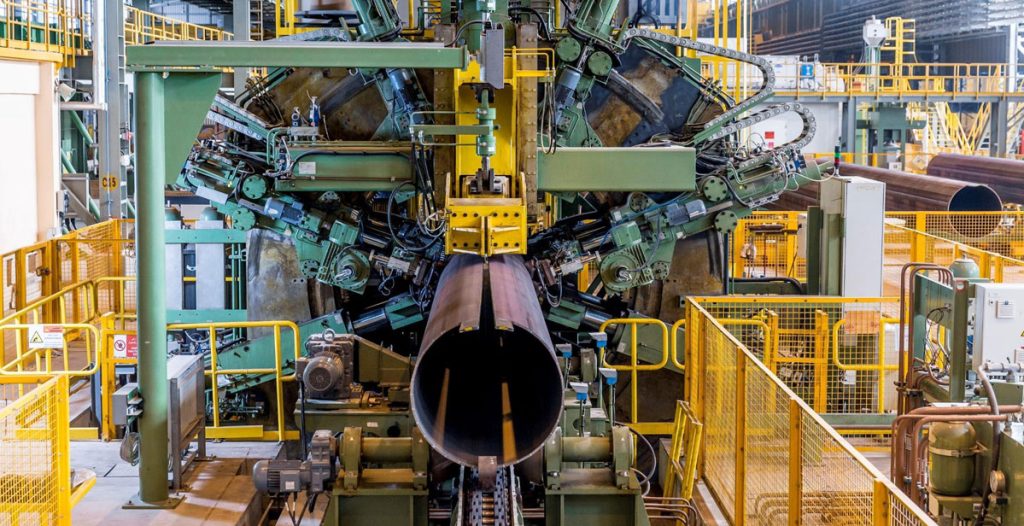
Tack Welding
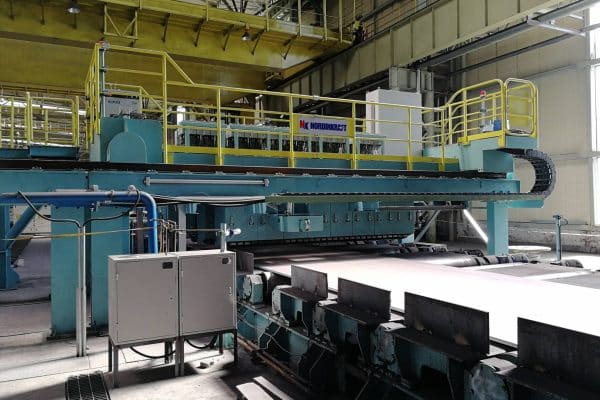
Plate Ultrasonic Testing
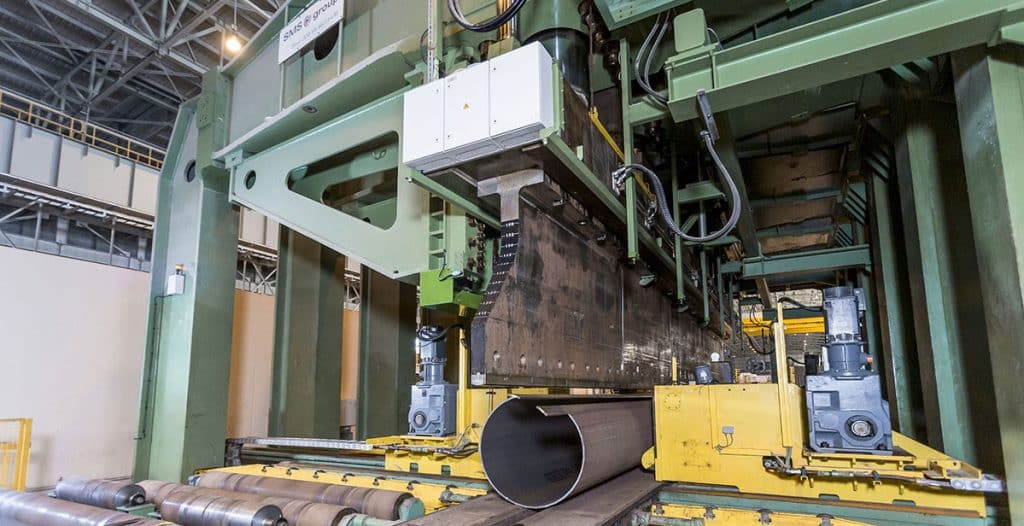
Pipe Forming
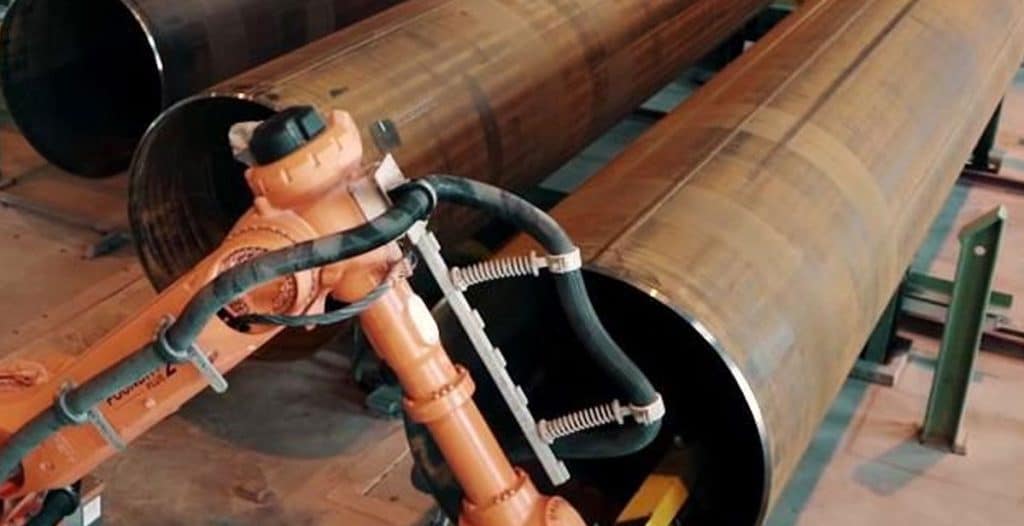
Pipe End Bevelling
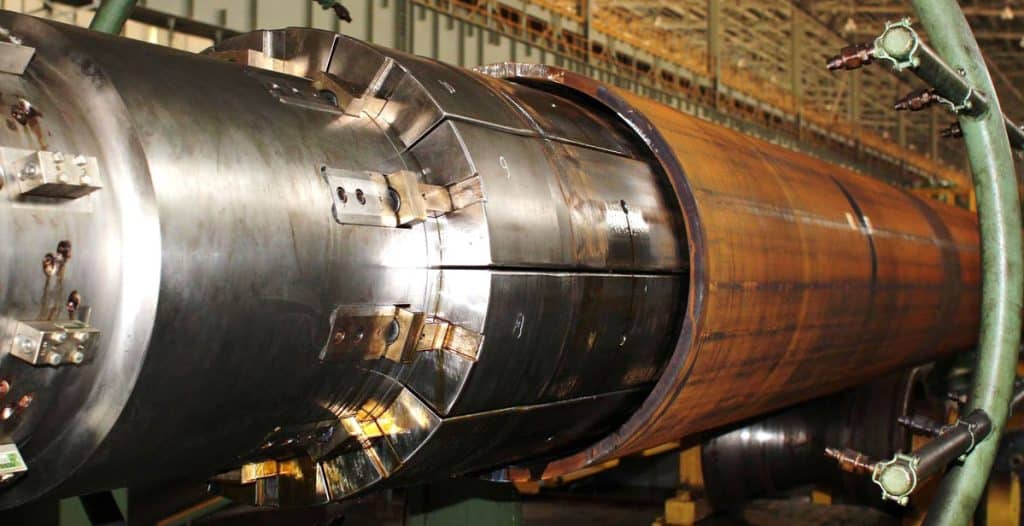
Mechanical Expansion
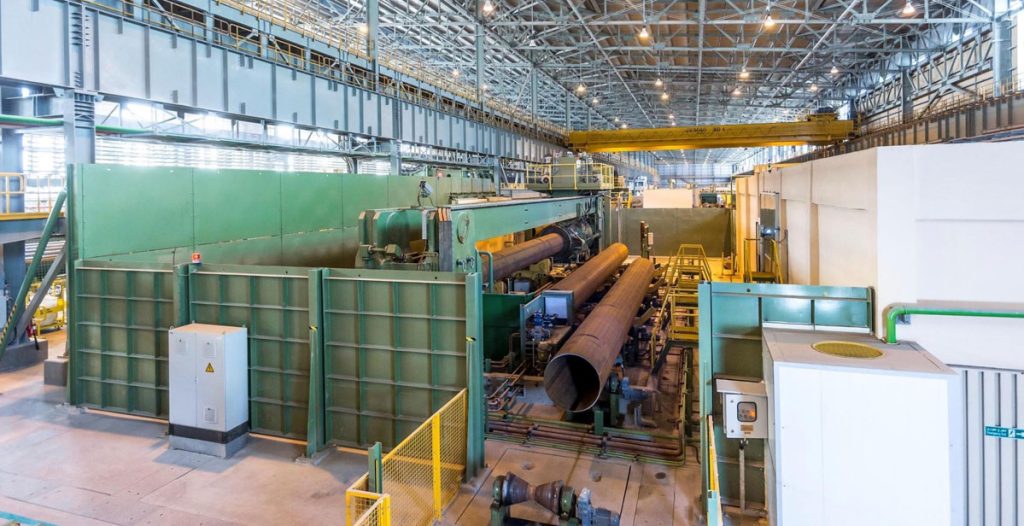
Hydrostatic Pipe Testing
Our Advantages For API 5L/ISO3183 line steel pipe
Complete Specifications
Out diameter up to 1422mm, and wall thickness up to 100mm, length up to 18 meters, it can cover the needs of most projects.
Good Quality
Complete quality inspection process and inspection equipments, each steel pipe has a unique code can be traced.
Fast Delivery
Our two factory areas, 16 production lines and multi -specifications of circular production. Fastest delivery time 7 days.
Quick Quotation
Dozens of professional salesmen are responsible for customers in different regions, and can provide accurate quotes within as soon as 1 hour.
Accept Small Quantity Order
Tens of thousands of tons of steel pipe inventory can meet your minimum 1 steel pipe needs.
Complete Certificate
API 5L, ISO9001, ISO14001, ISO18001, FPC, etc. While ensuring product quality, it can help you get more orders.
Technical Data For API 5L line steel pipe
Chemical Composition for PSL 1 pipe with t ≤ 0.984”
| Steel Grade | Mass fraction, % based on heat and product analyses a,g | ||||||
|---|---|---|---|---|---|---|---|
| C | Mn | P | S | V | Nb | Ti | |
| max b | max b | max | max | max | max | max | |
| Seamless Pipe | |||||||
| A | 0.22 | 0.9 | 0.3 | 0.3 | – | – | – |
| B | 0.28 | 1.2 | 0.3 | 0.3 | c,d | c,d | d |
| X42 | 0.28 | 1.3 | 0.3 | 0.3 | d | d | d |
| X46 | 0.28 | 1.4 | 0.3 | 0.3 | d | d | d |
| X52 | 0.28 | 1.4 | 0.3 | 0.3 | d | d | d |
| X56 | 0.28 | 1.4 | 0.3 | 0.3 | d | d | d |
| X60 | 0.28 e | 1.40 e | 0.3 | 0.3 | f | f | f |
| X65 | 0.28 e | 1.40 e | 0.3 | 0.3 | f | f | f |
| X70 | 0.28 e | 1.40 e | 0.3 | 0.3 | f | f | f |
| Welded Pipe | |||||||
| A | 0.22 | 0.9 | 0.3 | 0.3 | – | – | – |
| B | 0.26 | 1.2 | 0.3 | 0.3 | c,d | c,d | d |
| X42 | 0.26 | 1.3 | 0.3 | 0.3 | d | d | d |
| X46 | 0.26 | 1.4 | 0.3 | 0.3 | d | d | d |
| X52 | 0.26 | 1.4 | 0.3 | 0.3 | d | d | d |
| X56 | 0.26 | 1.4 | 0.3 | 0.3 | d | d | d |
| X60 | 0.26 e | 1.40 e | 0.3 | 0.3 | f | f | f |
| X65 | 0.26 e | 1.45 e | 0.3 | 0.3 | f | f | f |
| X70 | 0.26e | 1.65 e | 0.3 | 0.3 | f | f | f |
| a. Cu ≤ = 0.50% Ni; ≤ 0.50%; Cr ≤ 0.50%; and Mo ≤ 0.15%, b. For each reduction of 0.01% below the specified maximum concentration for carbon, an increase of 0.05% above the specified maximum concentration for Mn is permissible, up to a maximum of 1.65% for grades ≥ L245 or B, but ≤ L360 or X52; up to a maximum of 1.75% for grades > L360 or X52, but < L485 or X70; and up to a maximum of 2.00% for grade L485 or X70., c. Unless otherwise agreed NB + V ≤ 0.06%, d. Nb + V + TI ≤ 0.15%, e. Unless otherwise agreed., f. Unless otherwise agreed, NB + V = Ti ≤ 0.15%, g. No deliberate addition of B is permitted and the residual B ≤ 0.001% |
|||||||
Chemical Composition for PSL 2 pipe with t ≤ 0.984”
| Steel Grade | Mass fraction, % based on heat and product analyses | Carbon Equiv a | |||||||||
|---|---|---|---|---|---|---|---|---|---|---|---|
| C | Si | Mn | P | S | V | Nb | Ti | Other | CE IIW | CE Pcm | |
| max b | max | max b | max | max | max | max | max | max | max | ||
| Seamless and Welded Pipe | |||||||||||
| BR | 0.24 | 0.4 | 1.2 | 0.025 | 0.015 | c | c | 0.04 | e,l | 0.43 | 0.25 |
| X42R | 0.24 | 0.4 | 1.2 | 0.025 | 0.015 | 0.06 | 0.05 | 0.04 | e,l | 0.43 | 0.25 |
| BN | 0.24 | 0.4 | 1.2 | 0.025 | 0.015 | c | c | 0.04 | e,l | 0.43 | 0.25 |
| X42N | 0.24 | 0.4 | 1.2 | 0.025 | 0.015 | 0.06 | 0.05 | 0.04 | e,l | 0.43 | 0.25 |
| X46N | 0.24 | 0.4 | 1.4 | 0.025 | 0.015 | 0.07 | 0.05 | 0.04 | d,e,l | 0.43 | 0.25 |
| X52N | 0.24 | 0.45 | 1.4 | 0.025 | 0.015 | 0.1 | 0.05 | 0.04 | d,e,l | 0.43 | 0.25 |
| X56N | 0.24 | 0.45 | 1.4 | 0.025 | 0.015 | 0.10f | 0.05 | 0.04 | d,e,l | 0.43 | 0.25 |
| X60N | 0.24f | 0.45f | 1.40f | 0.025 | 0.015 | 0.10f | 0.05f | 0.04f | g,h,l | As agreed | |
| BQ | 0.18 | 0.45 | 1.4 | 0.025 | 0.015 | 0.05 | 0.05 | 0.04 | e,l | 0.43 | 0.25 |
| X42Q | 0.18 | 0.45 | 1.4 | 0.025 | 0.015 | 0.05 | 0.05 | 0.04 | e,l | 0.43 | 0.25 |
| X46Q | 0.18 | 0.45 | 1.4 | 0.025 | 0.015 | 0.05 | 0.05 | 0.04 | e,l | 0.43 | 0.25 |
| X52Q | 0.18 | 0.45 | 1.5 | 0.025 | 0.015 | 0.05 | 0.05 | 0.04 | e,l | 0.43 | 0.25 |
| X56Q | 0.18 | 0.45f | 1.5 | 0.025 | 0.015 | 0.07 | 0.05 | 0.04 | e,l | 0.43 | 0.25 |
| X60Q | 0.18f | 0.45f | 1.70f | 0.025 | 0.015 | g | g | g | h,l | 0.43 | 0.25 |
| X65Q | 0.18f | 0.45f | 1.70f | 0.025 | 0.015 | g | g | g | h,l | 0.43 | 0.25 |
| X70Q | 0.18f | 0.45f | 1.80f | 0.025 | 0.015 | g | g | g | h,l | 0.43 | 0.25 |
| X80Q | 0.18f | 0.45f | 1.90f | 0.025 | 0.015 | g | g | g | i,j | As agreed | |
| X90Q | 0.16f | 0.45f | 1.9 | 0.02 | 0.01 | g | g | g | j,k | As agreed | |
| X100Q | 0.16f | 0.45f | 1.9 | 0.02 | 0.01 | g | g | g | j,k | As agreed | |
| Welded Pipe | |||||||||||
| BM | 0.22 | 0.45 | 1.2 | 0.025 | 0.015 | 0.05 | 0.05 | 0.04 | e,l | 0.43 | 0.25 |
| X42M | 0.22 | 0.45 | 1.3 | 0.025 | 0.015 | 0.05 | 0.05 | 0.04 | e,l | 0.43 | 0.25 |
| X46M | 0.22 | 0.45 | 1.3 | 0.025 | 0.015 | 0.05 | 0.05 | 0.04 | e,l | 0.43 | 0.25 |
| X52M | 0.22 | 0.45 | 1.4 | 0.025 | 0.015 | d | d | d | e,l | 0.43 | 0.25 |
| X56M | 0.22 | 0.45f | 1.4 | 0.025 | 0.015 | d | d | d | e,l | 0.43 | 0.25 |
| X60M | 0.12f | 0.45f | 1.60f | 0.025 | 0.015 | g | g | g | h,l | 0.43 | 0.25 |
| X65M | 0.12f | 0.45f | 1.60f | 0.025 | 0.015 | g | g | g | h,l | 0.43 | 0.25 |
| X70M | 0.12f | 0.45f | 1.70f | 0.025 | 0.015 | g | g | g | h,l | 0.43 | 0.25 |
| X80M | 0.12f | 0.45f | 1.85f | 0.025 | 0.015 | g | g | g | i,j | .043f | 0.25 |
| X90M | 0.1 | 0.55f | 2.10f | 0.02 | 0.01 | g | g | g | i,j | – | 0.25 |
| X100M | 0.1 | 0.55f | 2.10f | 0.02 | 0.01 | g | g | g | i,j | – | 0.25 |
| a. SMLS t>0.787”, CE limits shall be as agreed. The CEIIW limits applied fi C > 0.12% and the CEPcm limits apply if C ≤ 0.12%, b. For each reduction of 0.01% below the specified maximum for C, an increase of 0.05% above the specified maximum for Mn is permissible, up to a maximum of 1.65% for grades ≥ L245 or B, but ≤ L360 or X52; up to a maximum of 1.75% for grades > L360 or X52, but L555 or X80., c. Unless otherwise agreed Nb = V ≤ 0.06%, d. Nb = V = Ti ≤ 0.15%, e. Unless otherwise agreed, Cu ≤ 0.50%; Ni ≤ 0.30% Cr ≤ 0.30% and Mo ≤ 0.15%, f. Unless otherwise agreed, g. Unless otherwise agreed, Nb + V + Ti ≤ 0.15%, h. Unless otherwise agreed, Cu ≤ 0.50% Ni ≤ 0.50% Cr ≤ 0.50% and MO ≤ 0.50%, i. Unless otherwise agreed, Cu ≤ 0.50% Ni ≤ 1.00% Cr ≤ 0.50% and MO ≤ 0.50%, j. B ≤ 0.004%, k. Unless otherwise agreed, Cu ≤ 0.50% Ni ≤ 1.00% Cr ≤ 0.55% and MO ≤ 0.80%, l. For all PSL 2 pipe grades except those grades with footnotes j noted, the following applies. Unless otherwise agreed no intentional addition of B is permitted and residual B ≤ 0.001%. |
|||||||||||
Letter R: As rolled
Letter N: Normalizing rolled, Normalized formed, Normalized
Letter Q: Tempered and quenched
Letter M: Thermomechanical rolled or thermomechanical formed
Letter S: Sour Services, comes with PSL2 pipe for NS, QS, and MS, eg API 5L X52MS, API 5L X65QS.
| Pipe Grade | Tensile Properties – Pipe Body of SMLS and Welded Pipes PSL 1 | Seam of Welded Pipe | ||
|---|---|---|---|---|
| Yield Strength a | Tensile Strength a | Elongation | Tensile Strength b | |
| Rt0,5 PSI Min | Rm PSI Min | (in 2in Af % min) | Rm PSI Min | |
| A | 30,500 | 48,600 | c | 48,600 |
| B | 35,500 | 60,200 | c | 60,200 |
| X42 | 42,100 | 60,200 | c | 60,200 |
| X46 | 46,400 | 63,100 | c | 63,100 |
| X52 | 52,200 | 66,700 | c | 66,700 |
| X56 | 56,600 | 71,100 | c | 71,100 |
| X60 | 60,200 | 75,400 | c | 75,400 |
| X65 | 65,300 | 77,500 | c | 77,500 |
| X70 | 70,300 | 82,700 | c | 82,700 |
| a. For intermediate grade, the difference between the specified minimum tensile strength and the specified minimum yield for the pipe body shall be as given for the next higher grade. | ||||
| b. For the intermediate grades, the specified minimum tensile strength for the weld seam shall be the same as determined for the body using foot note a. | ||||
c. The specified minimum elongation, Af, expressed in percent and rounded to the nearest percent, shall be determined using the following equation: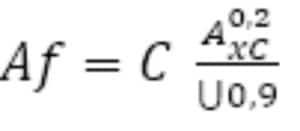 |
||||
| Where C is 1 940 for calculation using Si units and 625 000 for calculation using USC units | ||||
| Axc is the applicable tensile test piece cross-sectional area, expressed in square millimeters (square inches) , as follows | ||||
| – For circular cross-section test pieces, 130mm2 (0.20 in2) for 12.7 mm (0.500 in) and 8.9 mm (.350 in) diameter test pieces; and 65 mm2 (0.10 in2) for 6.4 mm (0.250in) diameter test pieces. | ||||
| – For full-section test pieces, the lesser of a) 485 mm2 (0.75 in2) and b) the cross-sectional area of the test piece, derived using the specified outside diameter and the specified wall thickness of the pipe, rounded to the nearest 10 mm2 (0.10in2) | ||||
| – For strip test pieces, the lesser of a) 485 mm2 (0.75 in2) and b) the cross-sectional area of the test piece, derived using the specified width of the test piece and the specified wall thickness of the pipe, rounded to the nearest 10 mm2 (0.10in2) | ||||
| U is the specified minimum tensile strength, expressed in megapascals (pounds per square inch) | ||||
| Pipe Grade | Tensile Properties – Pipe Body of SMLS and Welded Pipes PSL 2 | Seam of Welded Pipe | |||||
|---|---|---|---|---|---|---|---|
| Yield Strength a | Tensile Strength a | Ratio a,c | Elongation | Tensile Strength d | |||
| Rt0,5 PSI Min | Rm PSI Min | R10,5IRm | (in 2in) Af % |
Rm (psi) | |||
| Minimum | Maximum | Minimum | Maximum | Maximum | Minimum | Minimum | |
| BR, BN, BQ, BM | 35,500 | 65,300 | 60,200 | 95,000 | 0.93 | f | 60,200 |
| X42, X42R, X2Q, X42M | 42,100 | 71,800 | 60,200 | 95,000 | 0.93 | f | 60,200 |
| X46N, X46Q, X46M | 46,400 | 76,100 | 63,100 | 95,000 | 0.93 | f | 63,100 |
| X52N,X52Q,X52M | 52,200 | 76,900 | 66,700 | 110,200 | 0.93 | f | 66,700 |
| X56N,X56Q,X56M | 56,600 | 79,000 | 71,100 | 110,200 | 0.93 | f | 71,100 |
| X60N,X60Q,S60M | 60,200 | 81,900 | 75,400 | 110,200 | 0.93 | f | 75,400 |
| X65Q,X65M | 65,300 | 87,000 | 77,600 | 110,200 | 0.93 | f | 76,600 |
| X70Q,X65M | 70,300 | 92,100 | 82,700 | 110,200 | 0.93 | f | 82,700 |
| X80Q,X80M | 80,.500 | 102,300 | 90,600 | 119,700 | 0.93 | f | 90,600 |
| a. For intermediate grade, refer to the full API5L specification. | |||||||
| b. for grades > X90 refer to the full API5L specification. | |||||||
| c. This limit applies for pies with D> 12.750 in | |||||||
| d. For intermediate grades, the specified minimum tensile strength for the weld seam shall be the same value as was determined for the pipe body using foot a. | |||||||
| e. for pipe requiring longitudinal testing, the maximum yield strength shall be ≤ 71,800 psi | |||||||
f. The specified minimum elongation, Af, expressed in percent and rounded to the nearest percent, shall be determined using the following equation: |
|||||||
| Where C is 1 940 for calculation using Si units and 625 000 for calculation using USC units | |||||||
| Axc is the applicable tensile test piece cross-sectional area, expressed in square millimeters (square inches) , as follows | |||||||
| – For circular cross-section test pieces, 130mm2 (0.20 in2) for 12.7 mm (0.500 in) and 8.9 mm (.350 in) diameter test pieces; and 65 mm2 (0.10 in2) for 6.4 mm (0.250in) diameter test pieces. | |||||||
| – For full-section test pieces, the lesser of a) 485 mm2 (0.75 in2) and b) the cross-sectional area of the test piece, derived using the specified outside diameter and the specified wall thickness of the pipe, rounded to the nearest 10 mm2 (0.10in2) | |||||||
| – For strip test pieces, the lesser of a) 485 mm2 (0.75 in2) and b) the cross-sectional area of the test piece, derived using the specified width of the test piece and the specified wall thickness of the pipe, rounded to the nearest 10 mm2 (0.10in2) U is the specified minimum tensile strength, expressed in megapascals (pounds per square inch | |||||||
| g. Lower values fo R10,5IRm may be specified by agreement | |||||||
| h. for grades > x90 refer to the full API5L specification. | |||||||
Outside diameter, out of roundness and wall thickness
| Specified Outside Diameter D (in) | Diameter Tolerance, inches d | Out-of-Roundness Tolerance in | ||||
|---|---|---|---|---|---|---|
| Pipe except the end a | Pipe end a,b,c | Pipe except the End a | Pipe End a,b,c | |||
| SMLS Pipe | Welded Pipe | SMLS Pipe | Welded Pipe | |||
| < 2.375 | -0.031 to + 0.016 | – 0.031 to + 0.016 | 0.048 | 0.036 | ||
| ≥2.375 to 6.625 | 0.020D for | 0.015D for | ||||
| +/- 0.0075D | – 0.016 to + 0.063 | 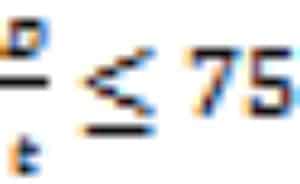 |
 |
|||
| By agreement for | By agreement for | |||||
 |
 |
|||||
| >6.625 to 24.000 | +/- 0.0075D | +/- 0.0075D, but max of 0.125 | +/- 0.005D, but max of 0.063 | 0.020D | 0.015D | |
| >24 to 56 | +/- 0.01D | +/- 0.005D but max of 0.160 | +/- 0.079 | +/- 0.063 | 0.015D for but max of 0.060 | 0.01D for but max of 0.500 |
| For | For | |||||
 |
 |
|||||
| By agreement | By agreement | |||||
| for | for | |||||
 |
 |
|||||
| >56 | As agreed | |||||
| a. The pipe end includes a length of 4 in ate each of the pipe extremities | ||||||
| b. For SMLS pipe the tolerance apply for t≤0.984in and the tolerances for the thicker pipe shall be as agreed | ||||||
| c. For expanded pipe with D≥8.625in and for non-expanded pipe, the diameter tolerance and the out-of-roundness tolerance may be determined using the calculated inside diameter or measured inside diameter rather than the specified OD. | ||||||
| d. For determining compliance to diameter tolerance, the pipe diameter is defined as the circumference of the pipe in any circumferential plane divide by Pi. | ||||||
| Wall thickness | Tolerances a | |||||
| t inches | inches | |||||
| SMLS pipe b | ||||||
| ≤ 0.157 | -1.2 | |||||
| > 0.157 to < 0.948 | + 0.150t / – 0.125t | |||||
| ≥ 0.984 | + 0.146 or + 0.1t, whichever is the greater | |||||
| – 0.120 or – 0.1t, whichever is the greater | ||||||
| Welded pipe c,d | ||||||
| ≤ 0.197 | +/- 0.020 | |||||
| > 0.197 to < 0.591 | +/- 0.1t | |||||
| ≥ 0.591 | +/- 0.060 | |||||
| a. If the purchase order specifies a minus tolerance for wall thickness smaller than the applicable value given in this table, the plus tolerance for wall thickness shall be increased by an amount sufficient to maintain the applicable tolerance range. | ||||||
| b. For pipe with D≥ 14.000 in and t≥0.984in, the wall thickness tolerance locally may exceed the plus tolerance for wall thickness by an additional 0.05t provided that the plus tolerance for mass is not exceeded. | ||||||
| c. The plus tolerance for wall thickens does not apply to the weld area | ||||||
| d. See the full API 5L spec for full details | ||||||
Hydrostatic test
Pipe to withstand a hydrostatic test without leakage through the weld seam or the pipe body. Jointers need not be hydrostatic tested provide the pipe sections used were successfully tested.
Bend test
No cracks shall occur in any portion of the test piece and no opening of the weld shall occur.
Flattening test
Acceptance criteria for flattening test shall be:
EW pipes D<12.750 in:
X60 with T 500in. There shall be no opening of the weld before the distance between the plates is less than 66% of the original outside diameter. For all grades and wall, 50%.
For pipe with a D/t > 10, there shall be no opening of the weld before the distance between the plates is less than 30% of the original outside diameter.
For other sizes refer to the full API 5L specification.
CVN impact test for PSL2
Many PSL2 pipe sizes and grades require CVN. Seamless pipe is to be tested in the body. Welded pipe is to be tested in the body, pipe weld and heat-affected zone. Refer to the full API 5L specification for the chart of sizes and grades and required absorbed energy values.
- API 5L line pipe is preferred in long pipelines due to its inexpensiveness, so it is widely used in gas, water and oil transportation.
- API 5L line pipe can resist to crack propagation, so it used to pipeline steel.
- Line Pipe and Sour Service Line Pipes
Frequently Asked Questions
Here are some common questions and answers. If you still have questions, don’t hesitate to contact us.
1. What is API 5L pipe?
ANSI / API 5L specifies the manufacture of two product levels (PSL1 and PSL2) of seamless and welded steel pipe for the use of a pipeline in the transportation of petroleum and natural gas. For material use in a sour service application, refer to Annex H; for offshore service application, refer to Annex J of API 5L 45th Edition.
2. What is the difference between A106 and API 5L?
API 5L steel pipes are derived from API Spec 5L specification for line pipe,and they are suitable for the transportation of gas,oil and water.API 5L are divided into two product levels:API 5L PSL1 and API 5L PSL2.PSL1 is a standard quality for line pipe where PSL2 contains additional chemical,mechanical properties,and testing requirements.Grades covered by API 5L specification are A25,A,B and “X” Grades X42,X46,X52,X56,X60,X65,X70, X80.The two digit number following the “X” indicates the Minimum Yield Strength (in 000’s psi) of pipe produced to this grade.
ASTM A106(S/A 106) steel pipes are the standard specification for seamless carbon steel pipe for high-temperature and high-pressures service,such as power generation. ASTM A106 steel pipes contain three grades: ASTM A106 Grade A, ASTM A106 Grade B, ASTM A106 Grade C.3. What is the thickness tolerance for API 5L?
Dimensions tolerance for API 5L seamless pipe
1). For outer diameters
Less than 2 3/8 in (60.3 mm), pipe body diameter tolerance +/-0.5 mm. Pipe end +/-0.5 mm, Out of Roundhess tolerance for pipe body is 0.9 mm (0.036 in), pipe end is 0.6 mm (0.024 in).
2v. For OD equal or above 2 3/8 in (60.mm3) to 24 in (610 mm), (diameter tolerance) for pipe body is +/- 0.0075D, pipe end +/-0.005D but max to +1.6 mm (0.063mm), Roundness tolerance for pipe body < 0.015D, pipe end < 0.01D. In case agreed with manufacturer and client, more strictly tolerances could be applied
3). For wall thickness
Below than 4 mm (0.0157 in), tolerance +0.6mm (0.024 in), -0.5 mm (0.020 in).
For API 5L seamless steel pipe thickness in 4 mm to 10 mm (0.394 in), +0.150t, -0.125t;
For APl seamless pipe thickness 10 mm to 25mm (0.984 in), +/-0.125t
Wall thickness ≥25 mm, +3.7mm or +0.1t (if larger) and -3.0 mm (0.120 in) or -0.1t (if larger).
4). For straightness, max for full length, tolerance maximum 0.15% of length
5). Straightness, max deviation for pipe end, shall be ≤ 0.3 mm/m.
6). Length +/- 200 mm for general. +/- 25.4 mm for special.4. What is ASTM A106 Grade B equivalent to API 5L?
API 5L Grade B pipe is a common grade pipe for oil and gas pipeline transmissions.
It also called L245 Pipe refer ISO 3183, named by minimum yield strength 245 MPa (35,500 Psi).
Equivalent material ASTM A106 B or ASTM A53 B, which have similar value on chemical composition, mechanical properties, and applications.5. What is the use of API pipe?
API Line Pipe is steel pipe used for the transmission of Oil, Gas and Petroleum Distillates. Line Pipes are manufactured as per specifications established by American Petroleum Institute (API).
6. What's the meaning of API 5L for line pipe?
APL 5L is the manufacturing specification for line pipes for various cross-country pipeline applications around the world. The standard covers different grades of pipes based on it yield strength (A25, A, B, X42 ~X80) and application (Sour service, Offshore service) in two different technical levels PSL1 (normal) & PSL2 (stringent).
Mostly in oil & gas sector especially for the transportation of corrosive and lethal gases/ fluids, we normally use PSL2 normalized pipes of suitable grade. Such pipes, the service type which is specifically made will be mentioned such as X42NS ( normalized and for Sour service) or X42NO (normalized and for offshore services).
Also PSL1 pipes are used for variety of applications where there are no risk of any lethal or combistable gas exposures.7. What is API 5L SEAMLESS PIPES?
API 5L SEAMLESS PIPES
Hot Rolled Carbon Steel Pipes as per American Petroleum Institute specification API 5L cover Seamless and Welded Line Pipes.
SEAMLESS API 5L LINE PIPE FOR DEPENDABLE TRANSMISSION OF OIL AND GAS TO ANY TYPE OF COLLECTION AND DISTRIBUTION POINT
This API 5L specification Covers Seamless and Welded Steel Line Pipe. It includes standard-weight and Extra-Strong threaded Line Pipe. It includes standard-weight and extra-strong threaded line pipe; and standard-weight plain-end, regular-weight plain-end, special plain-end, extra-strong plain-end, special plain-end, extra-strong plain-end pipe; as as well as bell and spigot and through-the-flow line(TFL) pipe.
The purpose of this specification is to provide standards for pipe suitable for use in conveying gas, water, and oil in both the oil and natural gas industries
Grades covered by this specification are A25 ,A ,B (and the following “X” Grades), X42, X46, X52, X56, X60, X65, X70, X80. The two digit number following the “X” indicates the Minimum Yield Strength (in 000’s psi) of pipe produced to this grade.
Featured Case For API 5L line steel pipe
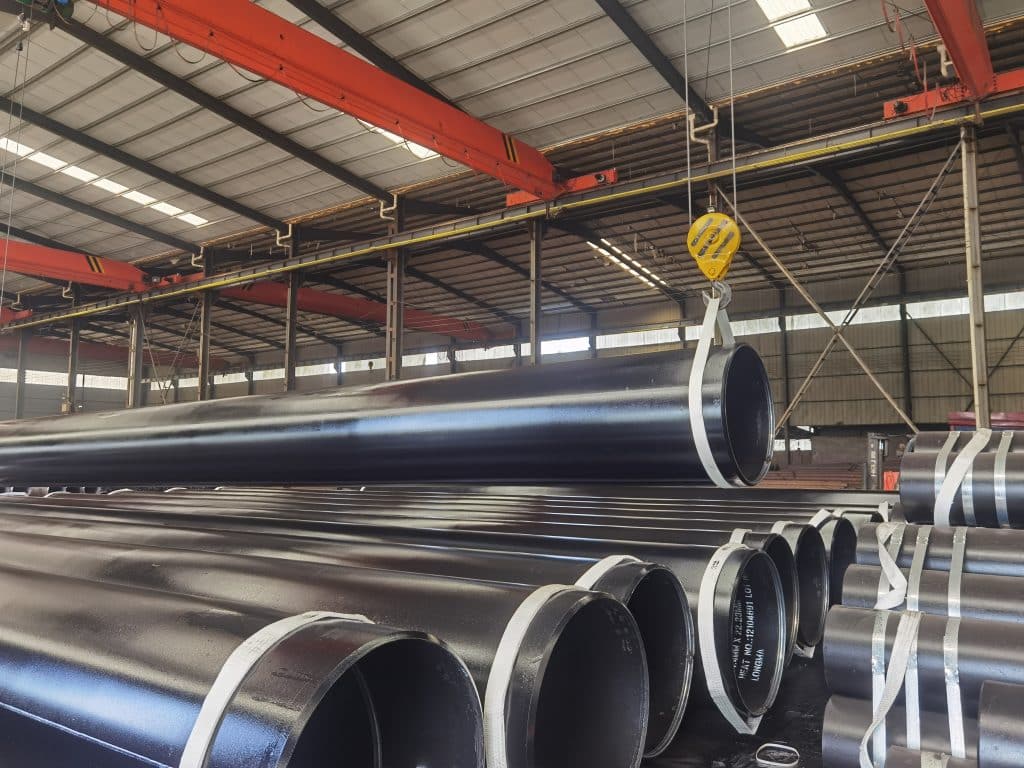
API 5L PSL2 X70M LSAW Pipe
- Size: 914.4*22.23*12000MM
- Country: Agentina
- Client say: This is not our first cooperation, Longma’s product quality and service has always been very good, which is the reason why we continue......
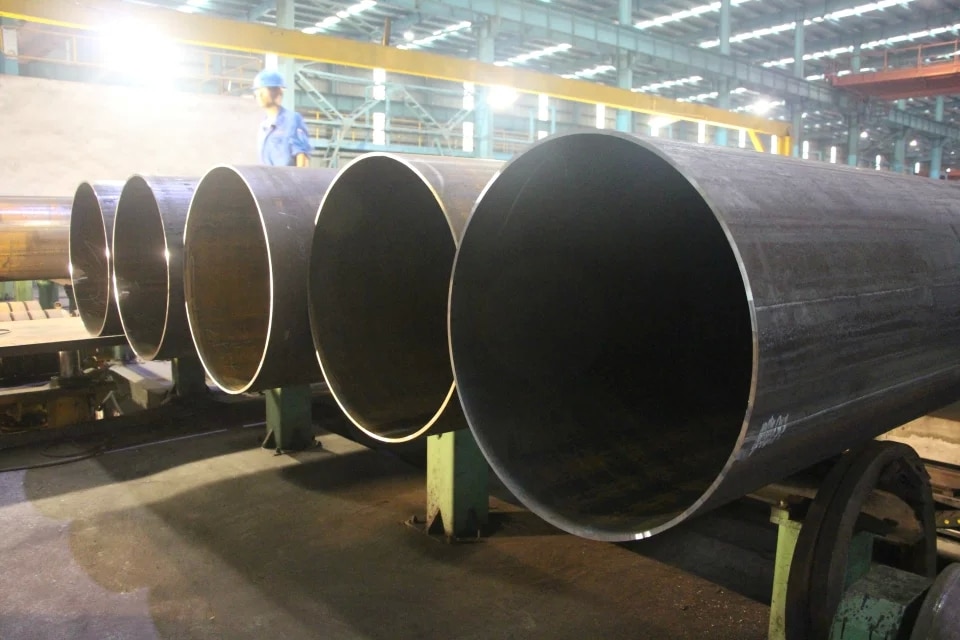
APL 5L PSL1 B LSAW Pipe
- Size: 813*10mm
- Country: Georgia
- Client say: The delivery time I asked for was very short, but they always finished on time. They have very strong organizational and coordination skills. ......
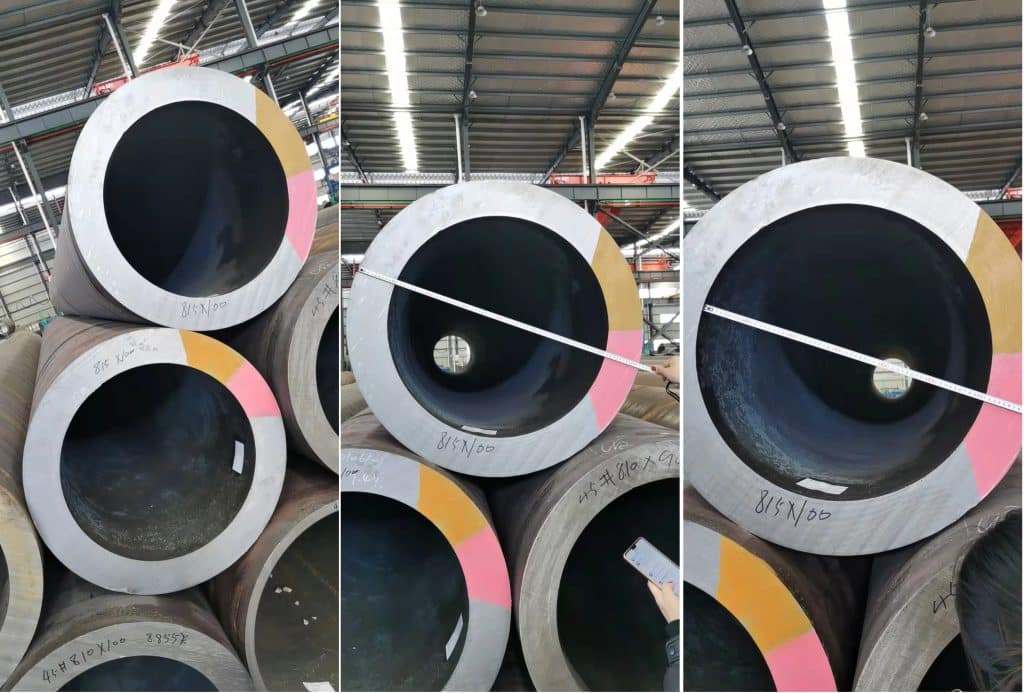
EN10210 S355J2H Hollow Section
- Size: 815mm*100mm
- Country: Poland
- Client say: The steel pipes I purchased are used for equipment manufacturing and special engineering, which have extremely strict requirements for product quality. The production......
ASTM A691 1-1/4Cr Cl22 EFW Steel Pipe
- Size: 508*20.62mm
- Country: Singapore
- Client say: Although our order quantity is not large, Longma has been very diligent to help us complete the production and provide relevant documents.
Request Free Quote
Get In Touch
How Can We Help?
Longma experienced engineers are here to guide you through every critical step in your project.
Please do not hesitate to contact us.
